Translate

Monday, July 8, 2019

My new vanity chair - A Furniture Makeover


My New Vanity Chair

A furniture Makeover

Follow me on Instagram


I found this beautiful chair and although very pretty it was in need of some love. 


The webbing had rotted and the seat of the chair was falling through it. The fabric had dry rot and the seat cushion was shot.


There was also some damages to the wood.  


See the webbing...


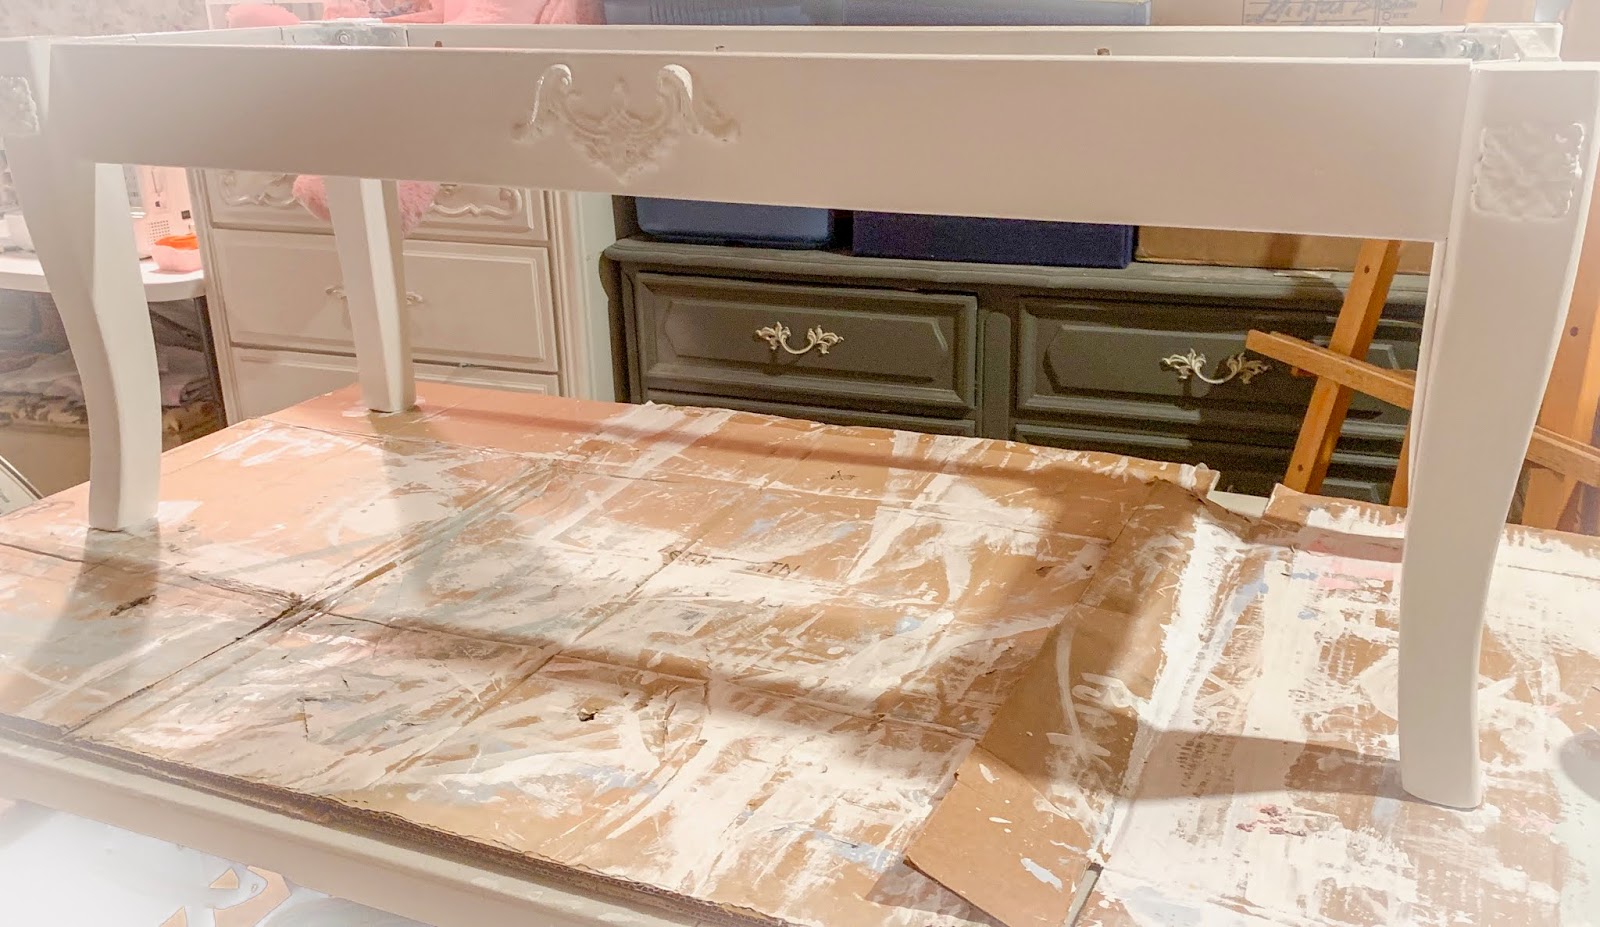
I started by removing everything from the chair, sanding it, and painting it. 


I replaced the webbing, much better now....


I used high-density foam and cut it to size. 


I stuffed the back of the chairs and then I covered the back and seat with several layers of batting. 


I picked a vintage upholstery fabric for my chair. 


Then I stapled my fabrics to the chair and I trimmed the upholstery with upholstery trim.  I found mine at Hobby Lobby.  They have quite a few furniture upholstery items.  


The vanity you see Below is also one of my furniture makeovers.  I found both of these pieces together so they now have a new look together. 


As you can see I added a vintage mirror to my vanity. 

This was a dirty job and a lot of hard work but so worth it. 

Thank you for visiting my blog.  

Beverly
Tea Cottage Pretties


Wednesday, May 15, 2019

This Is Us

This Is Us


My daughter Tiffany and I love the show This Is Us.  
When I saw this sign on Instagram I knew I had to have it.  
I ordered mine from Etsy seller

In the hand-painted boxes, you see are my daughter's ballet outfits from when they were very young. 
One box contains my vintage Sears, Big Toy Box china tea set circa, 1968.  


I painted mine a French blue. 
It came with command strips so I could easily hang it.  


I placed it on the landing on our stairs to the top floor of our home.  
Along the walls, I am adding our family photos. 
Each photo is in different frames all painted white. 


I am going to make a graphic for the blue hand mirror type frame you see above with our wedding date on it.  The bear you see was a gift from my daughter some years ago. I will be adding things over time as this space evolves.  


 I think it's just perfect. 

This Is Us

Beverly 
Tea Cottage Pretties

Monday, May 13, 2019

The Ugly Duckling


The Ugly Duckling

This is my new bench for my closet. 


This is what it looked like when I found it. 


 It was long and clunky and just about the ugliest bench I have ever seen. 


My hubby cut it down for me and altered it so that it would fit my closet.  
Then I sanded it and I rounded the legs while sanding it.  This gave it a more feminine look. Then I gave it all two coats for primer. 


 We also had to cut the top part down and trim the foam.  I decided to use this pretty pink and white striped upholstery fabric that I had on hand. 


I love it!!!


I gave it a test run to make sure everything fit together properly. 


Then I made furniture appliques to embellish my new bench. 


 I used wood glue to add my appliques. 


Then I gave it three coats of white paint. 


 Finally, I could put the top back on my bench. 


I made a bolster pillow to go across the entire back of my bench. 
 Here it is in my closet. 


My ugly duckling is now a beautiful swan!!!


It fits perfectly in my closet. 


Off to work on my next project. 


What projects have you been working on lately? 

Till next time, 
Beverly

Tea Cottage Pretties

Saturday, April 6, 2019

Altered Books Using IOD Moulds

Altered Books Using IOD Moulds


I wanted to make an altered book but first I had to find some books.  I picked up several fabric hardback books at a local thrift shop.  I used IOD moulds to make my embellishments for my books.  I made two but I am mainly going to focus on the larger one.  


To make my embellishments I used paper clay but you can use any clay that you like.  Then I used regular wood glue to attach them to my book. 


I then painted my books with gesso which accomplishes several different things.  First, it makes a great canvas on which to paint but it also fills in any little gaps or flaws. Once the gesso dried I lightly sanded my books. Then I gave them two coats of chalk paint, sanding after each coat. 


Then I stained the larger book to bring out the details. I took a cloth and started wiping away the stain. 

I then dry brushed my book with my chalk paint until I was happy with the appearance.  


Here is my book displayed with my antique chest. 


As a side note, I have owned this chest for many years and I recently found this metal stand that was perfect to sit my chest on. I added a globe, vintage books, and some Magnolia Home wire baskets off to the side. 

The other book was kind of for me.  I tried different painting techniques on it but I decided I liked it just a solid light pink color.  The paint is called pinkwash and it's perfect for my decor.  


I added a few tiny rhinestones and a blue bow to the pink book.  


I also loved both books simply painted white and I plan to make a few white ones for our master bedroom.

This was a fun project and I am excited about doing more books.  If you are interested in purchasing one please email me at toteacottagepretties@gmail.com. 

Also, this week I wanted to give a shout out to a very dear friend of mine.  You perhaps already know her blog Faith, Grace, and Crafts.  

Doni has a youtube channel at Doni H

Here is a link to Doni's Linktree


You can follow both of us on Instagram


If you drop by tell Doni that Beverly said hello!!!!

and you can follow Tea Cottage Pretties at


Be sure to come back soon to see what we have been up to here at Tea Cottage Pretties.

Beverly 

Tea Cottage Pretties


Monday, April 1, 2019

Vintage Stacking Tables Makeover

Vintage Stacking Table Makeover


I recently found this really cool set of vintage stacking tables.  The problem was that the original finish was in bad shape.  These photos don't really show it but the tables were very yellow and there were marks and damages to the finish here and there.  It was difficult to pull the tables apart as well. 


So, I knew I wanted to give them a new life.   

 I started by sanding them and painting them with a food primer. 


For the finish, I choose a DecoArt paint called Vintage.  It is a soft subtle green and oh so pretty.


I gave each table 2 coats of paint and sanded them after each coat. 


Then I added transfers to each table.  The transfers are by Iron Orchid Designs and are intended for flower pots but I thought this set of three transfers would be perfect for my tables. 


And here they are...


I added a wax topcoat to the tables and this makes them slide in and out very easily. 


I think they are super pretty. 


 Great piece of furniture for my Spring decor. 


 Now off to see what else I can find to make beautiful. 

Beverly

Tea Cottage Pretties

I was featured on
Make It Pretty Monday 


LinkWithin

You might also like: